Condition Surveys
Select from the following for managing condition survey records:
To add or edit a condition survey:
-
Do one of the following:
- Navigate to Maintenance > Condition > New Condition Survey
- Search for an existing condition survey
- Click the Create a new Condition Survey option on the Survey Home screen in the surveyor workspace
The Condition Survey Editor is displayed.
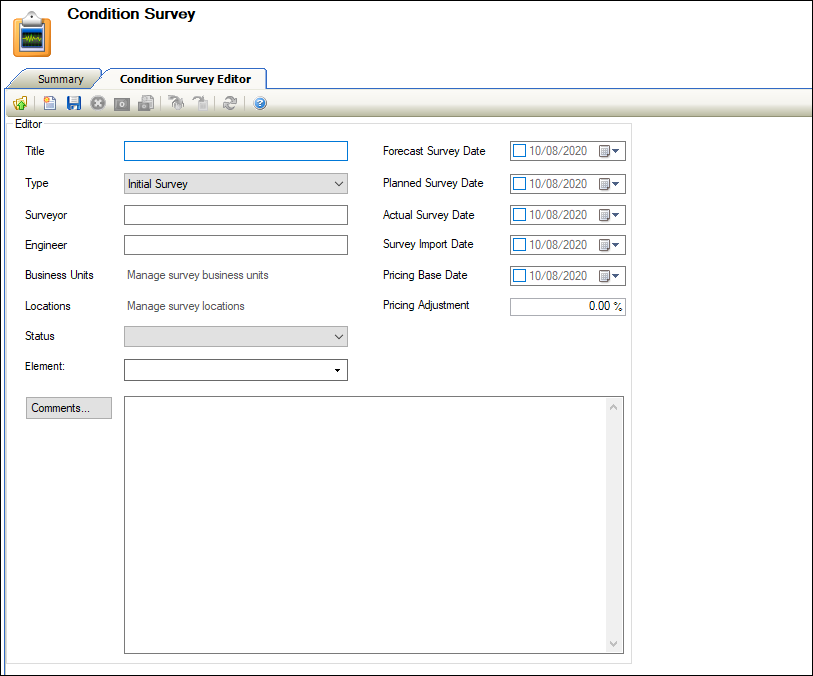
- Enter or edit the relevant details.
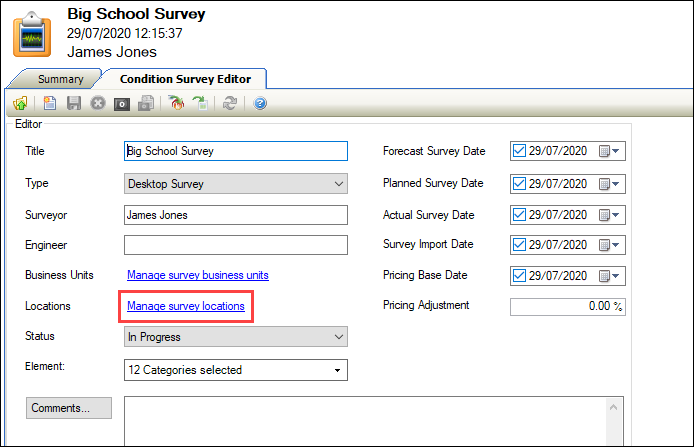
The fields on the Condition Survey Editor are described in the following table.
| This field | Holds this information... |
|---|---|
| Title | A title for the condition survey. This field is mandatory. |
| Type |
The survey type. Note: These can be defined in Survey Types reference data (accessed by navigating to Maintenance > Condition > Condition). |
| Surveyor | The name of the surveyor. This field is mandatory. |
| Engineer | The name of the engineer that undertook the mechanical and electrical survey. |
| Business Units | The business unit(s) linked to the condition survey. Refer to Manage survey business units for further information. |
| Locations | The location(s) linked to the condition survey. Refer to Manage survey locations for further information. |
| Status |
The status of the survey. Note: These can be defined in Survey Status reference data (accessed by navigating to Maintenance > Condition > Condition). |
| Element |
The element categories to be included in the survey. This field is mandatory. Note: These can be defined in Element List reference data (accessed by navigating to Maintenance > Condition > Condition) |
| Forecast Survey Date | The date that the survey is forecasted for. |
| Planned Survey Date | The date that the survey is planned for. |
| Actual Survey Date | The date that the survey was carried out. |
| Survey Import Date |
The date that the survey data was imported. Note: You must input this data manually. |
| Pricing Base Date | The date that the Schedule of Rates (SoR) pricing is taken from. |
| Pricing Adjustment | The pricing adjustment percentage from the Schedule of Rates (SoR). |
| Comments | Any comments on the condition survey. |
-
Click Save.
The Survey Locations screen is displayed automatically on saving for the first time. Refer to Manage survey locations for further information.
To manage survey business units:
-
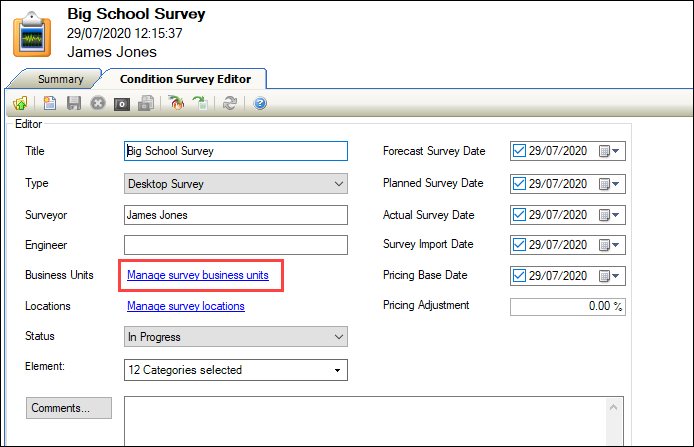
Click the Manage survey business units link on the Condition Survey Editor.
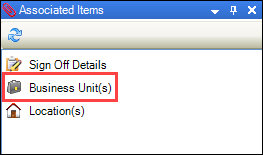
Alternatively, click the Business Unit(s) option in the Associated Items panel.
The Survey Business Units screen is displayed.

-
Do one of the following:
-
Click the New button to add a business unit

-
Select a record and then click the Delete button to remove the business unit

-
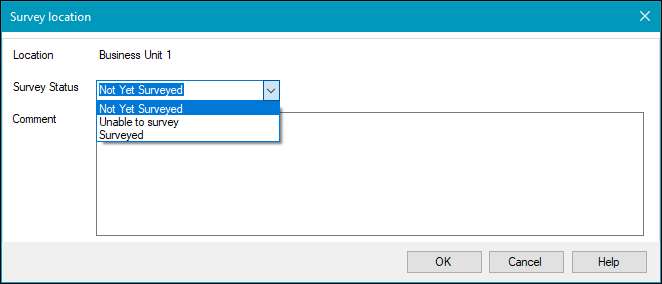
Double-click a record to display the Survey location window, where you can specify the survey status and record any comments
-
-
Click the Manage survey locations link on the Condition Survey Editor.
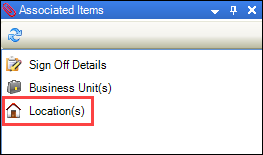
Alternatively, click the Location(s) option in the Associated Items panel.
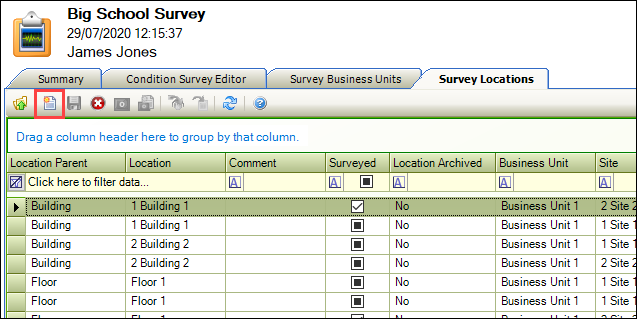
The Survey Locations screen is displayed.

-
Do one of the following:
-
Click the New button to add a location
-
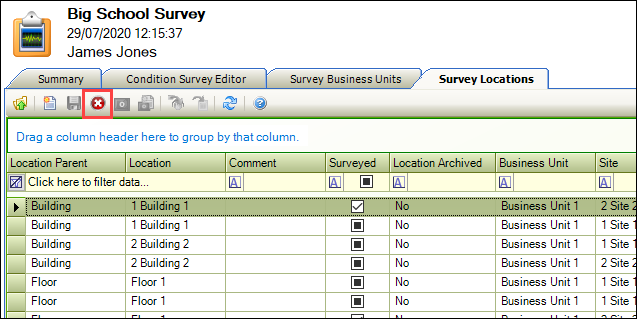
Select a record and then click the Delete button to remove the location
-
Double-click a record to display the Survey location window, where you can specify the survey status and record any comments
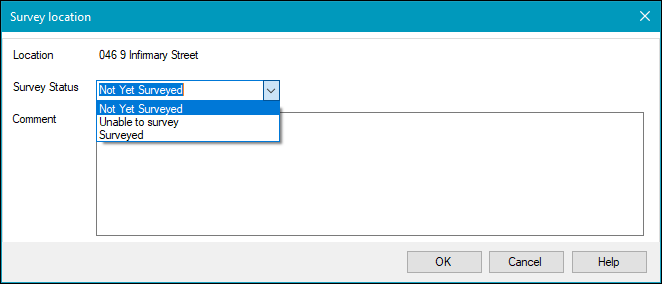
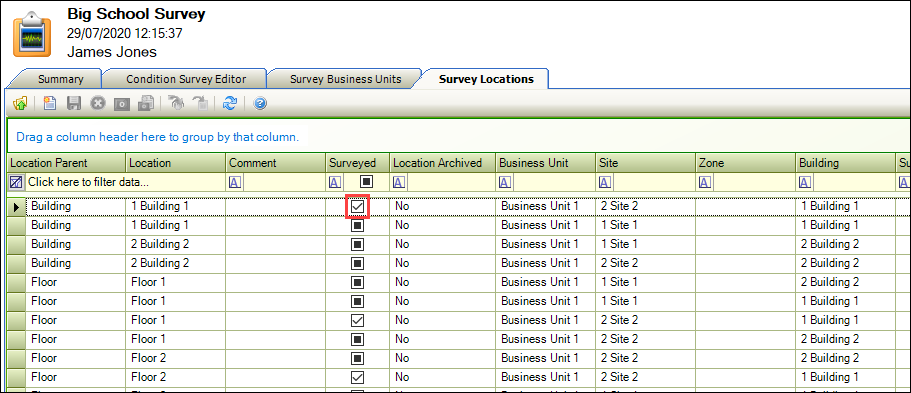
After clicking OK, any locations marked as 'Surveyed' will have a black check box selected and any marked as 'Unable to survey' will have a blank check box in the Surveyed column.
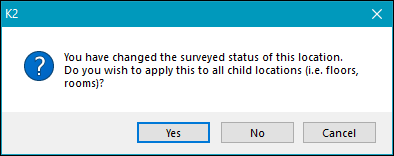
Note: If a location has child items, a window is displayed asking if you want the survey status to cascade to those child items.
-
You can re-import condition data after editing an exported spreadsheet.
To import condition data:
-
Click the Import button.
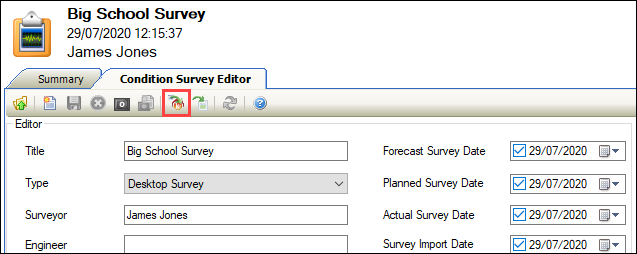
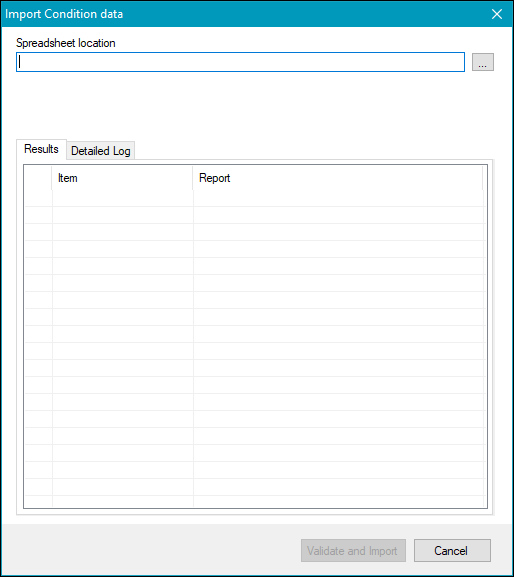
The Import Condition data window is displayed.
-
Click the ... button adjacent to the Spreadsheet location field.

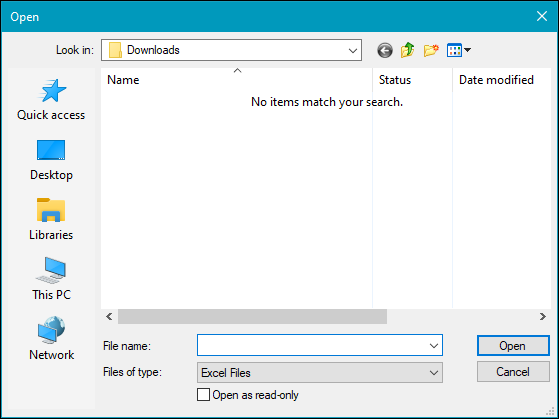
The Open window is displayed.
-
Navigate to and select the relevant file, and then click Open.
-
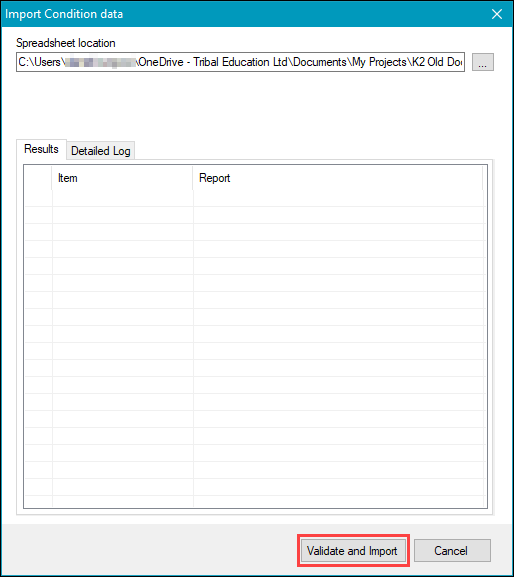
Click the Validate and Import button to run the process.
-
Use the Results and Detailed Log tabs to view information about the process.
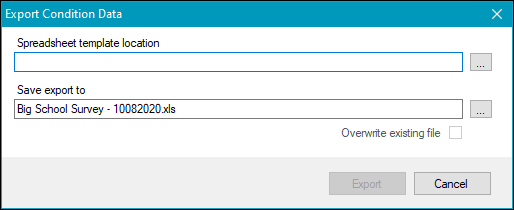
You must create a condition survey template before exporting condition data.
-
Click the Export button.
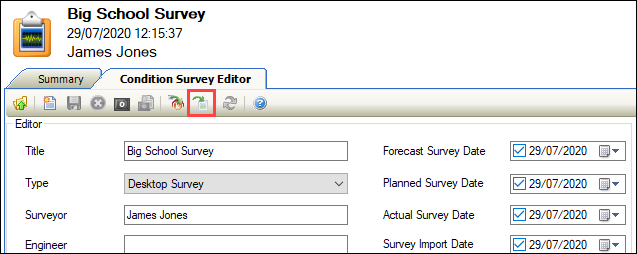
The Export Condition Data window is displayed.
-
Click the ... button adjacent to the Spreadsheet template location field.
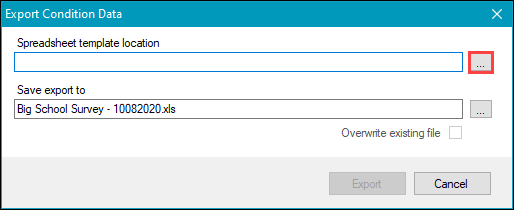
The Open window is displayed.

-
Navigate to and select the relevant files, and then click Open.
-
Click the ... button adjacent to the Save export to field.
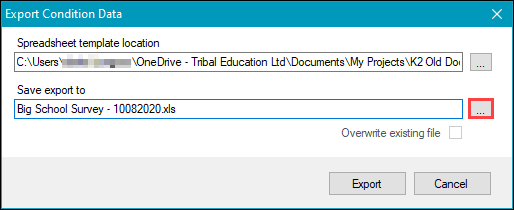
The Open window is displayed.
-
Navigate to the relevant location, enter a name for the file, and then click Save.
-
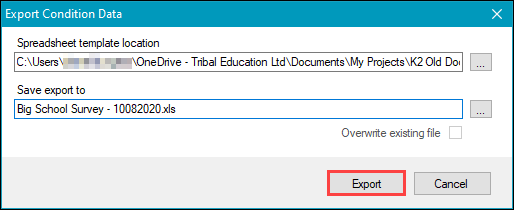
Click the Export button to run the export.
A condition survey can be signed off, which allows a Quality Assurance Audit of the survey to be logged.
Note: A survey can only be signed off once.
To sign off a condition survey:
-
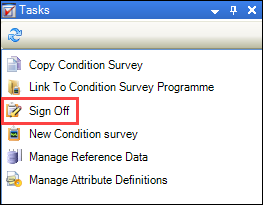
Click the Sign Off option in the Tasks panel.
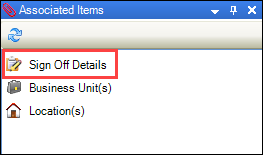
Alternatively, click the Sign Off Details option in the Associated Items panel.
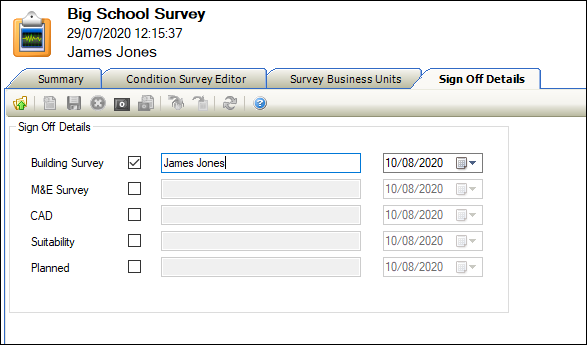
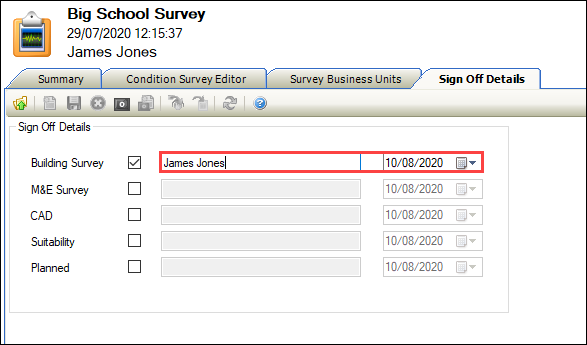
The Sign Off Details screen is displayed.
-
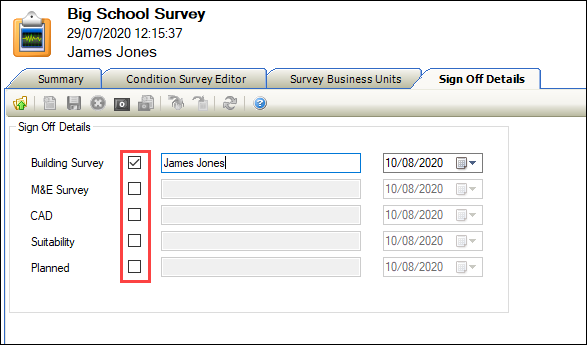
If an aspect of the condition survey has been signed off, select the relevant check box.
-
Enter the name of the person who signed off the aspect of the survey and select the date it was signed off.
- Click Save.
Refer to Condition Reference Data for further information.
Refer to Use Attribute Manager for further information.